Your laptop’s USB ports can quickly become coated in dirt and debris, which can affect the functionality of your device. To ensure that your laptop continues to operate at top-notch performance, it is important to regularly clean its USB ports. Fortunately, cleaning your laptop’s ports is a straightforward process that takes just a few minutes to complete.
The following guide outlines five simple steps to ensure you properly clean your laptop’s USB ports. After completing these steps, your USB ports will be free of dust, debris, and other buildup that can cause your laptop to malfunction.
Step 1: Gather the Right Tools
When you’re ready to clean your laptop’s USB ports, the first step is to assemble the right tools. Depending on the severity of the dirt and grime, you’ll need to use a variety of materials to get the job done right. Here are the tools you should gather before you start:
- Soft cloth
- Small paintbrush
- Compressed air can
- Rubbing alcohol and q-tips
- Container for your supplies
It’s a good idea to also make sure that your laptop is disconnected from any power source and turned off. This will ensure that no dirt or debris will end up being pushed inside the USB port.
Step 2: Power Down the Device

If your laptop still has power, it is highly recommended that you shut it down completely before you start cleaning the USB ports. This will help to protect the laptop from shorts and electric shocks as well as prevent any data loss. To power down your laptop, simply press and hold the power button until it shuts down completely.
Alternatively, you can also choose to shut down your laptop from the Start Menu. This is the preferred method as it shuts down the laptop and all of its applications gracefully.
Step 3: Locate and Disconnect the USB Ports
Before doing any further steps, make sure to locate all the USB ports on your laptop. You may need to use a flashlight or magnifying glass to inspect the area around the USB ports because they are usually tiny and hard to spot. Once the ports have been found, disconnect any USB device that may currently be connected.
To disconnect a USB device, press and hold the tiny rectangular release behind the device. Gently pull the device out from the port. Some devices may require you to press down on the release until it unlocks and then pull the device away from the port. Repeat this process with all the USB devices that are currently connected to the laptop.
Below is a list of USB devices that may have already been connected to your laptop before attempting to clean it:
- USB mouse
- USB keyboard
- USB microphone
- USB speakers
- USB flash drive
- USB webcam
- USB external hard drive
- USB printer
Step 4: Clean the Port Exterior
Now that you have opened the USB ports and removed the dust, it is time to clean the exterior of the laptop’s USB ports. To do this, follow these steps:
- Use a new, clean, lint-free cloth to create a lather of mild soap and warm water. Do not use any abrasive solutions.
- Gently wipe down the exterior of the USB ports with the lather.
- Use another pristine, lint-free cloth to remove any remaining soap.
- Lay the laptop onto its back and use compressed air to remove any dust and debris from the USB ports.
- Once you have finished, let the laptop sit for several minutes to make sure all of the ports are baking dry.
Cleaning the exterior of the laptop’s USB ports is an important step as it ensures optimal performance and prevents future buildup of dust and debris. Following these steps should help you keep your laptop’s USB ports clean and functioning as intended.
Step 5: Clean the Port Interior
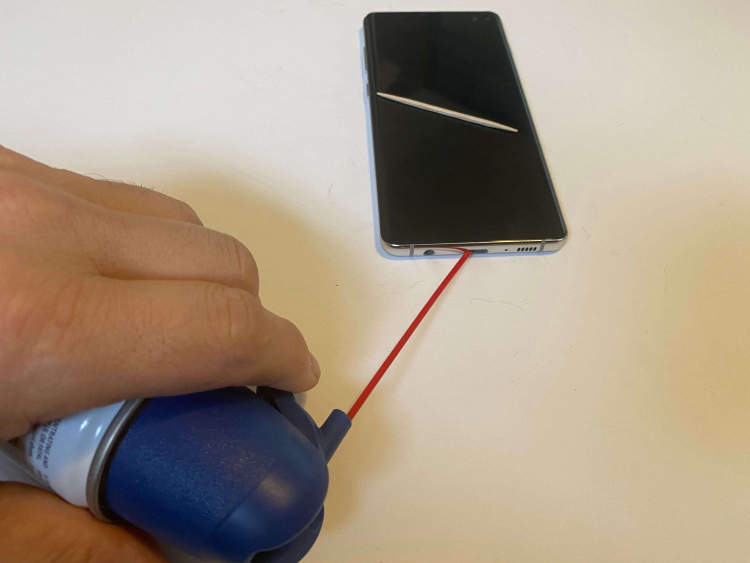
In the last step of your laptop’s port cleaning process, you will need to clean the interior of the USB port. Start by using compressed air to remove any dirt or dust that may have accumulated in the port. Before inserting the compressed air into the USB port, make sure you are pointing it away from your laptop.
Next, use a small brush to clean away the dirt and dust from the interior of the port. You can use cotton swabs or a soft, damp cloth to help remove any excess dirt or dust particles. Once the USB port has been thoroughly cleaned, it is time to re-format your USB port and get ready to use your laptop again.
To conclude the port cleaning process, it is important to remember to be gentle when cleaning, maintaining, or re-formatting USB ports. This will help preserve the condition of the port and make sure your laptop continues to function smoothly.
Conclusion
Cleaning your laptop’s USB ports is a simple and easy process and it can help you to ensure better connectivity and longer-living ports. The five steps provided above can help you to clean your device correctly and safely with minimal effort. No matter if you use your laptop for gaming, programming or school purposes, making sure your USB ports are clean is essential to your device’s performance.
Remember to practice safety when cleaning the ports, and make sure to check the user manual for established cleaning protocols of your laptop. Failure to follow proper cleaning instructions could void any warranty. If you are unsure of what to do, you can always consult with a professional. Regular cleaning should keep your laptop performing effectively for a long period of time.