Wireless mice are a great piece of modern technology, allowing you to enjoy the convenience of a mouse even when there isn’t a power source nearby. Connecting a wireless mouse to your laptop is a simple task that requires just a few clicks of the mouse and a few keyboard strokes.
Once your mouse is installed, you can begin using it right away. There is no software installation needed, all that needs to be done is plug the USB receiver into your laptop’s USB port. The mouse will begin to work right away. This article will explain how to correctly install a wireless mouse to your laptop computer.
What You Need to Connect Your Wireless Mouse
To connect a wireless mouse to your laptop, you’ll need a few basic pieces of hardware. It’s important to make sure that you have all the necessary components before attempting to set up your wireless mouse. This article will outline the essential components needed for a successful setup.
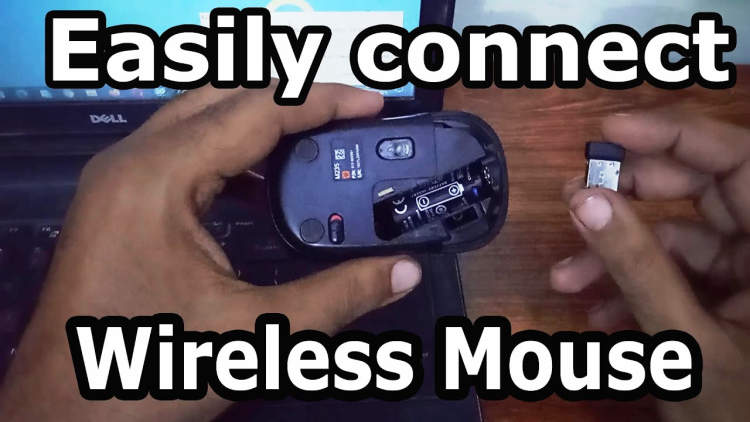
The most important piece of hardware you’ll need for installing your wireless mouse is the receiver. This device is inserted into the USB drive of your laptop. The receiver then communicates with your wireless mouse, so you can control your laptop with the mouse.
You’ll also need a few other hardware components. These include:
- Batteries – Wireless mice run on batteries, so you’ll need to have a set on hand.
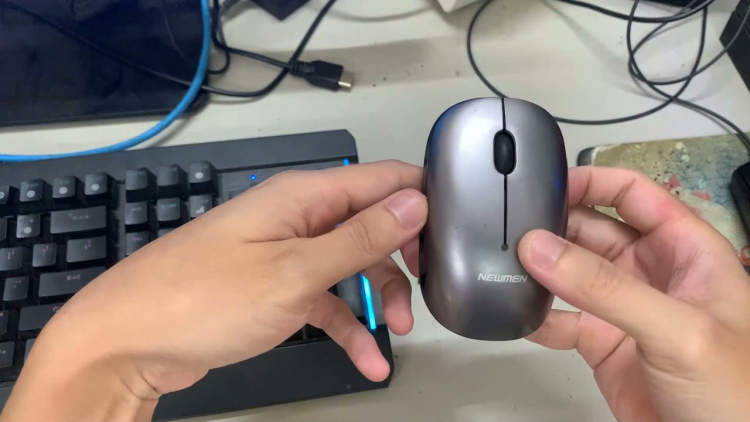
- Wireless Mouse – The wireless mouse lets you control your laptop from a distance.
- Mouse pad – A mouse pad helps ensure that your mouse is able to move freely.
Having all of the necessary hardware on hand is essential for connecting your wireless mouse to your laptop. Once you have all the components, you’ll be ready to set up your wireless mouse.
Instructions on How to Connect the Wireless Mouse to Your PC
Connecting a wireless mouse to your laptop is simpler than most people think. You don’t need to install software or connect any wires. You just need to pair it with your laptop. Here are the steps to connect a wireless mouse to your laptop:
- Install batteries in the wireless mouse using AAA or AA batteries depending on the type of mouse you bought.
- Press the ON/OFF switch at the bottom of the mouse for 3 seconds.
- Look for a LED light on the mouse which indicates that the mouse is ready for connection.
- On your laptop, open the settings menu and click on devices.
- From the list of devices, click on Bluetooth & other devices.
- You should now see an option to pair a new device. Click on it.
- Your laptop will now start to search for devices. Once it finds your mouse, select it and click connect.
- Wait for a while and once the connection is successful, you should be able to use your new mouse on your laptop.
Troubleshooting Tips for Setting Up the Mouse
Sometimes setting up a wireless mouse can be tricky. Here are a few troubleshooting tips to help you get it set up successfully.
Resetting the Mouse
If your mouse isn’t functioning properly, resetting it may help. This can include disconnecting it from the computer, removing the batteries, or daily/weekly reset.
- Disconnect the mouse from the computer.
- Remove the batteries from the mouse.
- Wait 10-15 seconds for the mouse to reset itself.
- Replace the batteries into the mouse.
Power Options
Make sure the power settings are correct. For example, if the mouse has a battery life indicator, set it up in the power settings so that the mouse will not sleep more than the customary amount.
Connection Issues
If you’re having connection problems with the wireless mouse, make sure the connection is stable and strong. You should also check to make sure the mouse is paired correctly with your laptop and that it is close enough to connect with it.
- Ensure the mouse is paired correctly.
- Make sure the laptop is close enough to the mouse.
- Check that the connection is secure and strong.
Conclusion
Connecting a wireless mouse to your laptop is an incredibly easy process and can be done within minutes. It is important to make sure that you have the required equipment, the most important of which is the wireless adapter. Follow the instructions provided by the manufacturer of the mouse to set it up properly. If you encounter any issues, make sure to contact customer support. Once connected, you should have no problem in enjoying the convenience of a wireless mouse.
It is important to remember that the connection needs to be checked periodically, especially if you have an older model laptop. Also, you should always check if your mouse has the necessary drivers installed, as they will enable the connection between the laptop and the mouse. Proper maintenance of the connection will help you enjoy the convenience of a wireless mouse for a long time.